Jobs and estimates
Creating a job
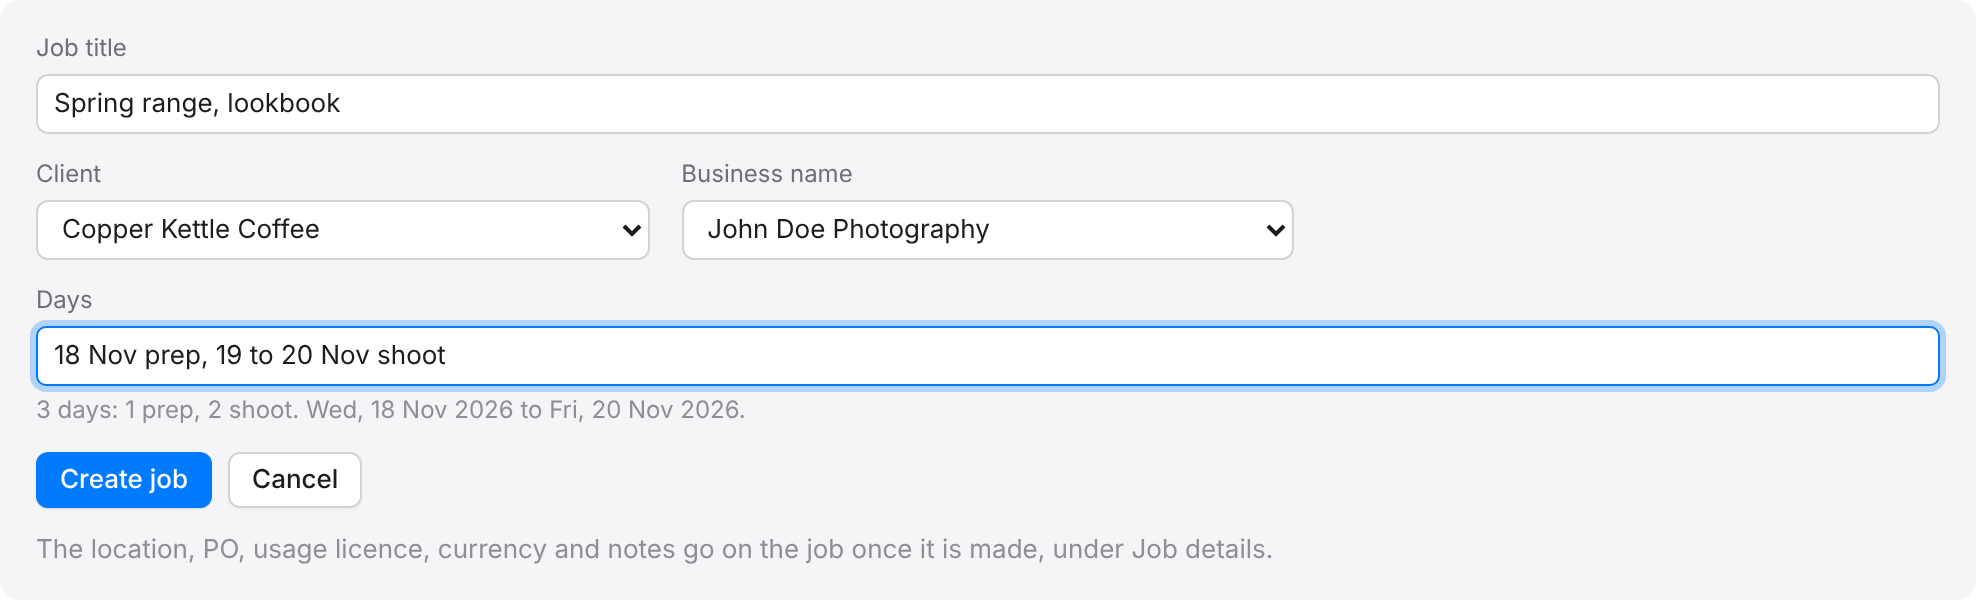
Starting a new job, and what each box in Job details is for.
- Click Jobs in the side menu.
- Click New job, top right.
- Type a Job title, for example Spring menu shoot.
- Choose the Client. For a client not in the list yet, choose New client . . . at the top of the list and type their name.
- If you have more than one business name, choose the Business name it goes out under.
- Type the days in the Days box, if you know them. You can leave it empty for now.
- Click Create job.
New client . . . is also in the Client list in Job details, for a job you have already made. A new client typed in is added to Clients when you create or save the job. If a client with that name is already there, the job uses it instead. Add their address and contacts later on the client’s page.
The job takes the next number from its business name, and opens with an empty estimate called Original, ready for its first lines. It starts as Estimating. Its currency is the one used on the client’s last job, or your home currency for a new client.
The boxes in Job details
Everything else about the job is in Job details, near the top of the job. Click it to open the form.
- Currency: the currency of the estimate and invoice.
- First day and Last day: set by the Days box, or by hand.
- Agency PO: the client’s purchase order number. It prints on the estimate and the invoice.
- Days: the days of the job in plain words. See Typing the days in plain words.
- Status: where the job is, from Enquiry to Paid. See Job statuses.
- Location: the studio, or where the shoot is.
- Description for the client: shown on the estimate and invoice, under the job title, with the dates and location.
- Usage licence: what the client may do with the work. See Writing a usage licence.
- Private notes: for you only. Clients never see them.
Changing the job later
- Open the job.
- Click Job details to open the form.
- Make your changes.
- Click Save job details.