Getting started
Setting up your business, step by step
The settings to fill in before your first estimate, in the order that works best.
A few minutes in Settings means your first estimate goes out with the right name, numbers, tax and bank details. Do them in this order, because each one builds on the one before.
1. Your business
- Click Settings in the side menu.
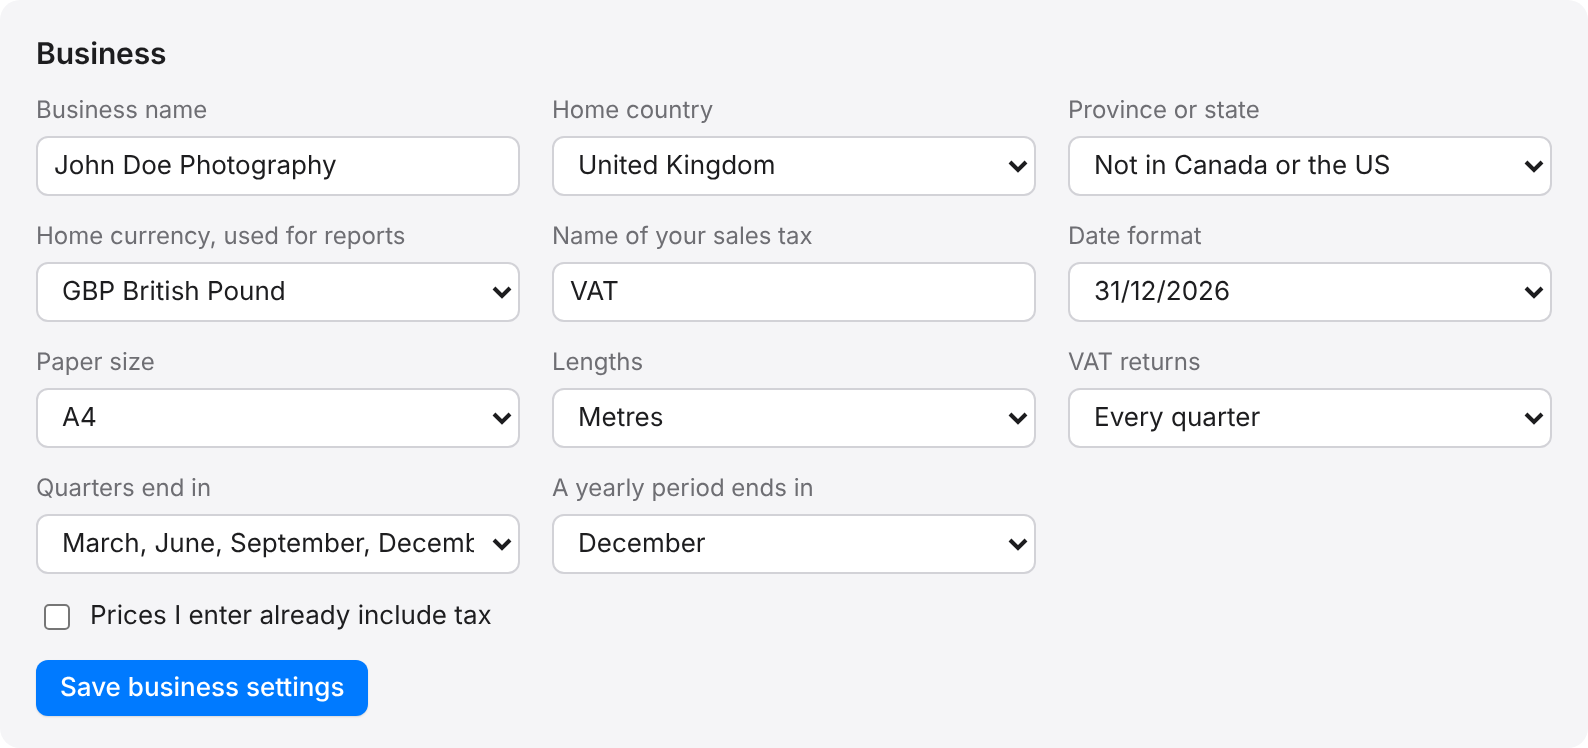
- Settings opens on Business. Check the business name.
- Choose your Home country. In Canada or the United States, also choose your province or state.
- Choose your Home currency. Reports and the accountant pack are worked out in this currency.
- Type the Name of your sales tax, for example VAT or GST.
- Choose a Date format, a Paper size and how Lengths are shown.
- Choose how often you do tax returns, and when your quarters or your year end.
- Tick Prices I enter already include tax only if the rates you type already have tax in them.
- Click Save business settings.
2. Business names on documents
Add each name you trade under, with its address, tax number and numbering. Every estimate and invoice goes out under one of these names. See Business names and numbering.
3. Tax rates
Add the rates you charge. BidWrap never assumes a rate for you. See Tax rates.
4. Bank accounts
Add the accounts clients pay into, so the right one prints on each invoice. See Bank accounts on invoices.
5. Terms and wording
Add your estimate terms, invoice terms and full terms and conditions. See Terms, conditions and licence templates.
6. Your catalogue and clients
Add the things you charge for in Catalogue, and the people you work for in Clients, or bring both across from Blinkbid with Import, in Settings.